

Install the Device
This step places the analysis device in the store, connects peripherals and power, and turns it on.
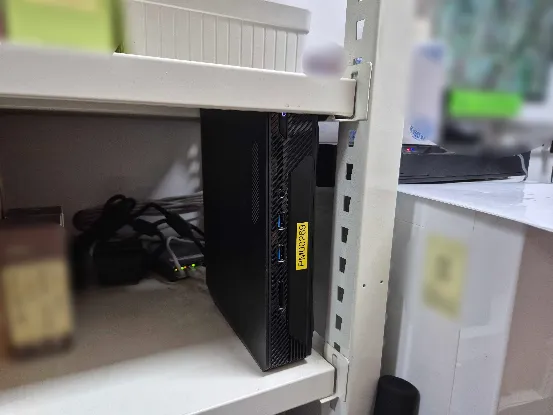
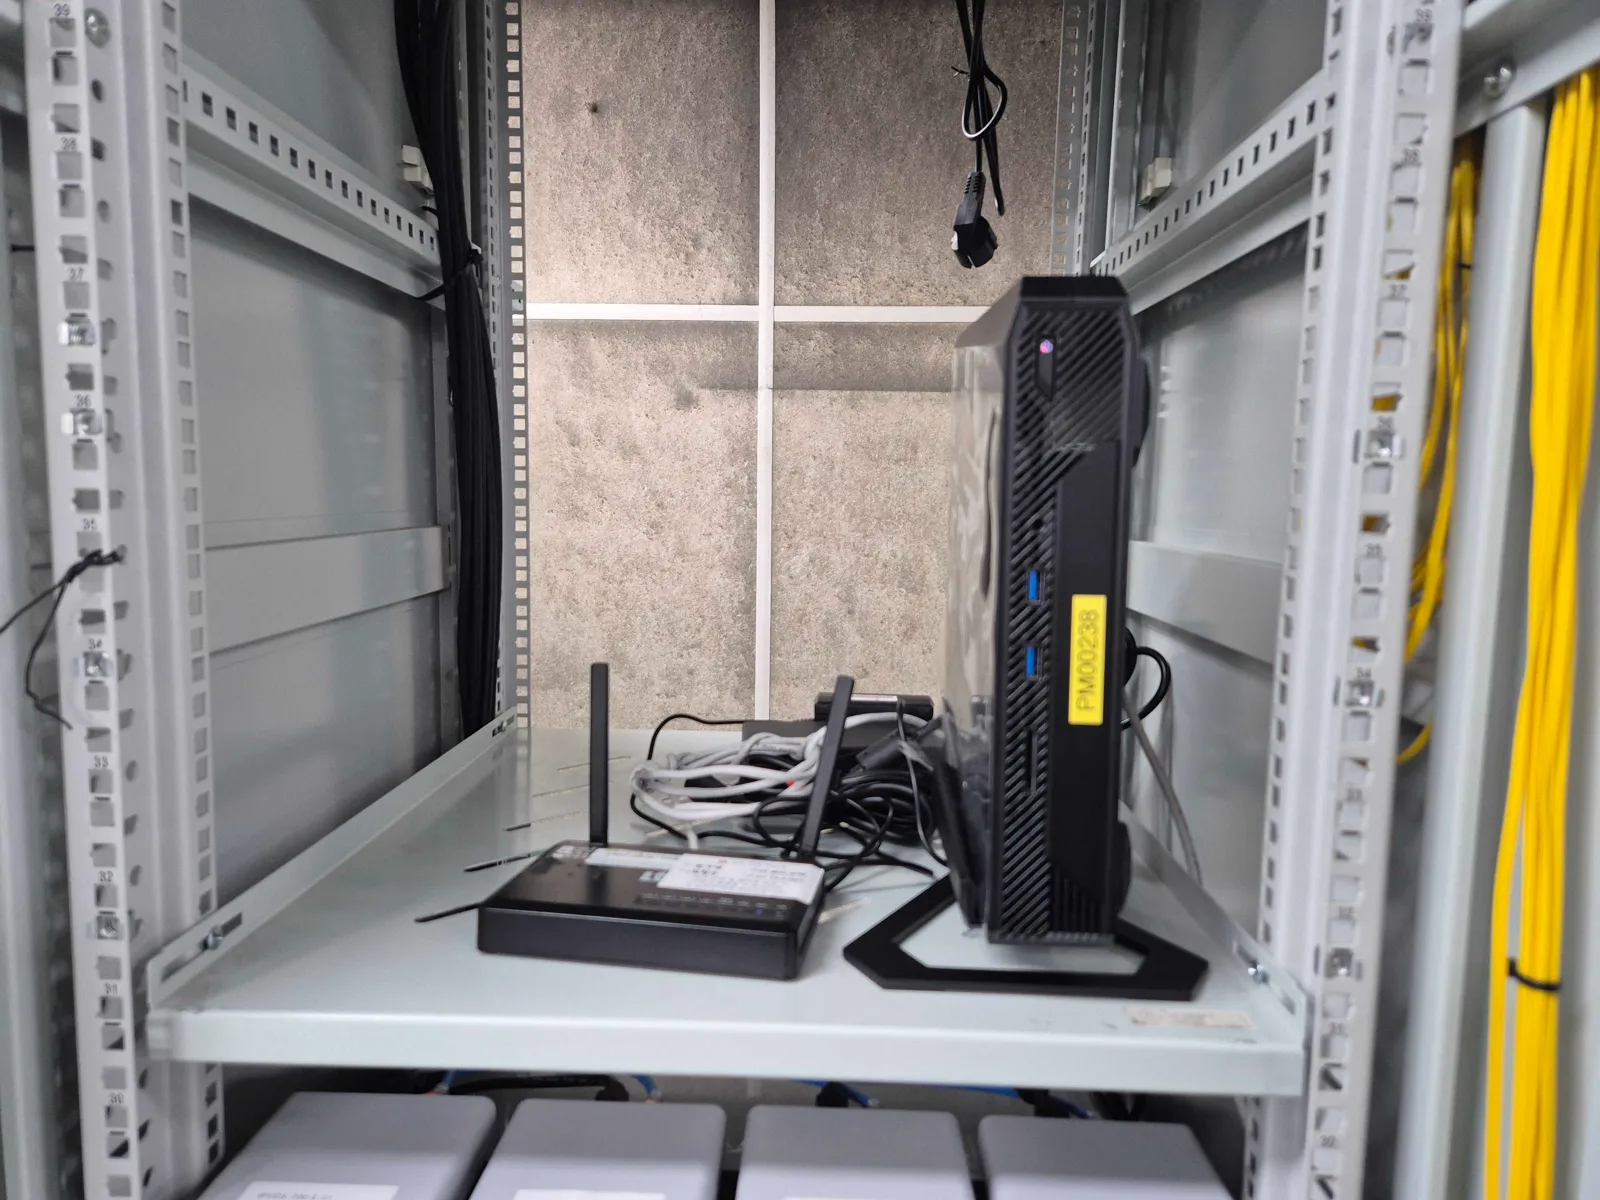
Choosing a location
Place the analysis device where it meets the following conditions:
- Where stable power is available
- Where there is good ventilation
- Where it can be physically connected to the camera and internet equipment
Connecting peripherals
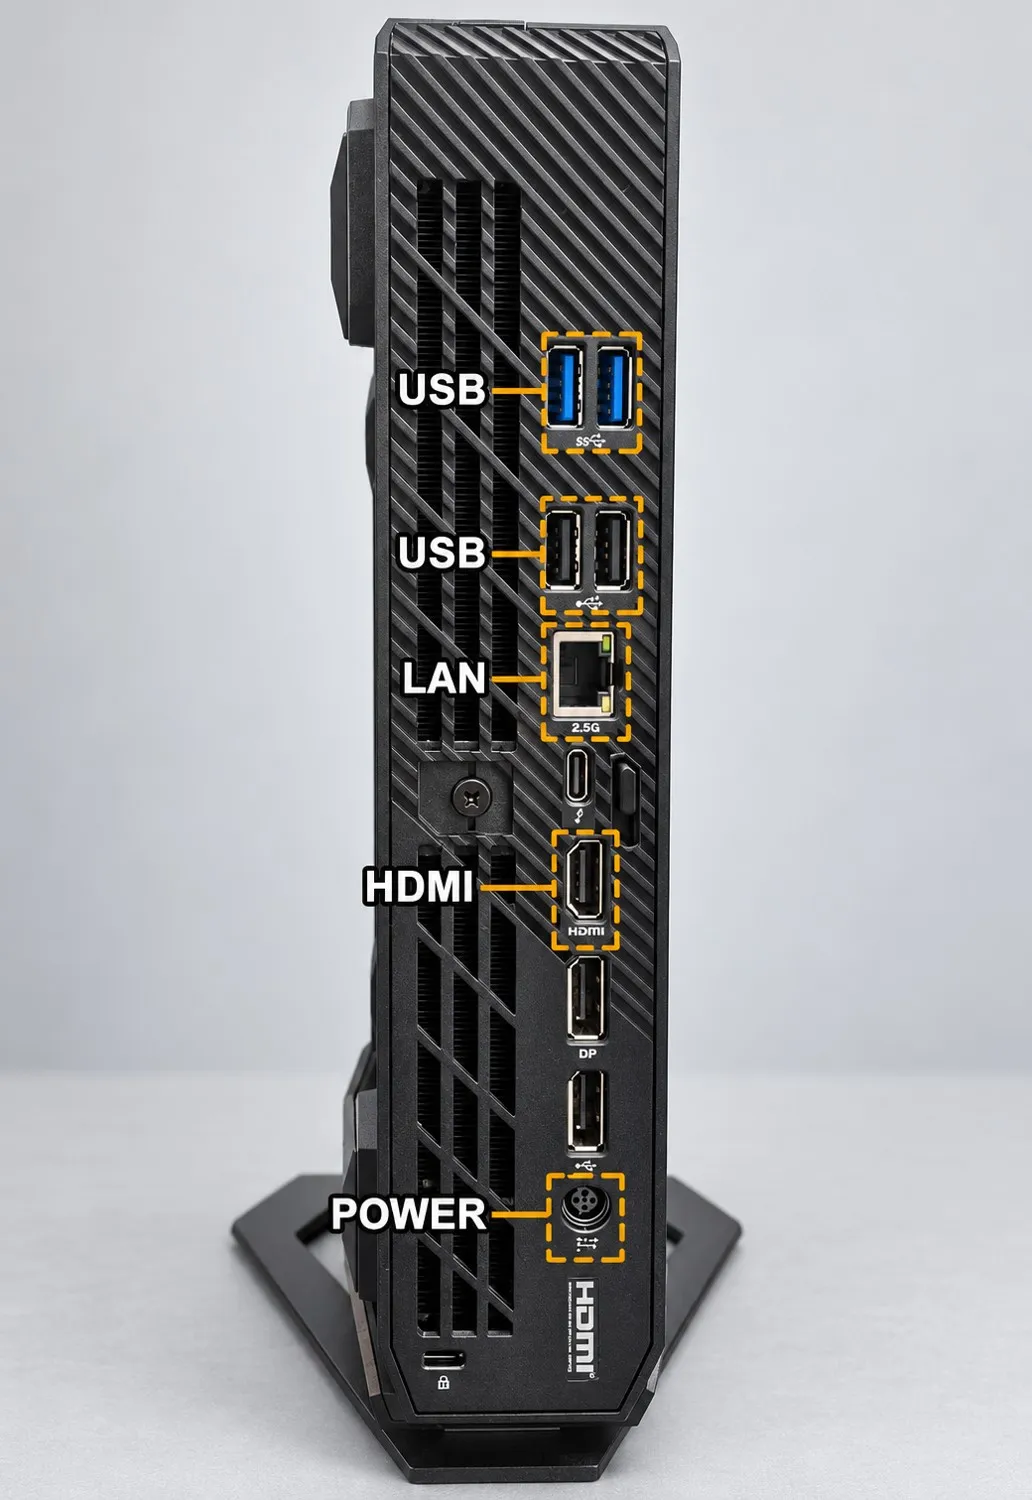
Connect the peripherals for operating the On-Site Control Panel to the back of the device.
- Monitor
- Keyboard
- Mouse
Connecting power
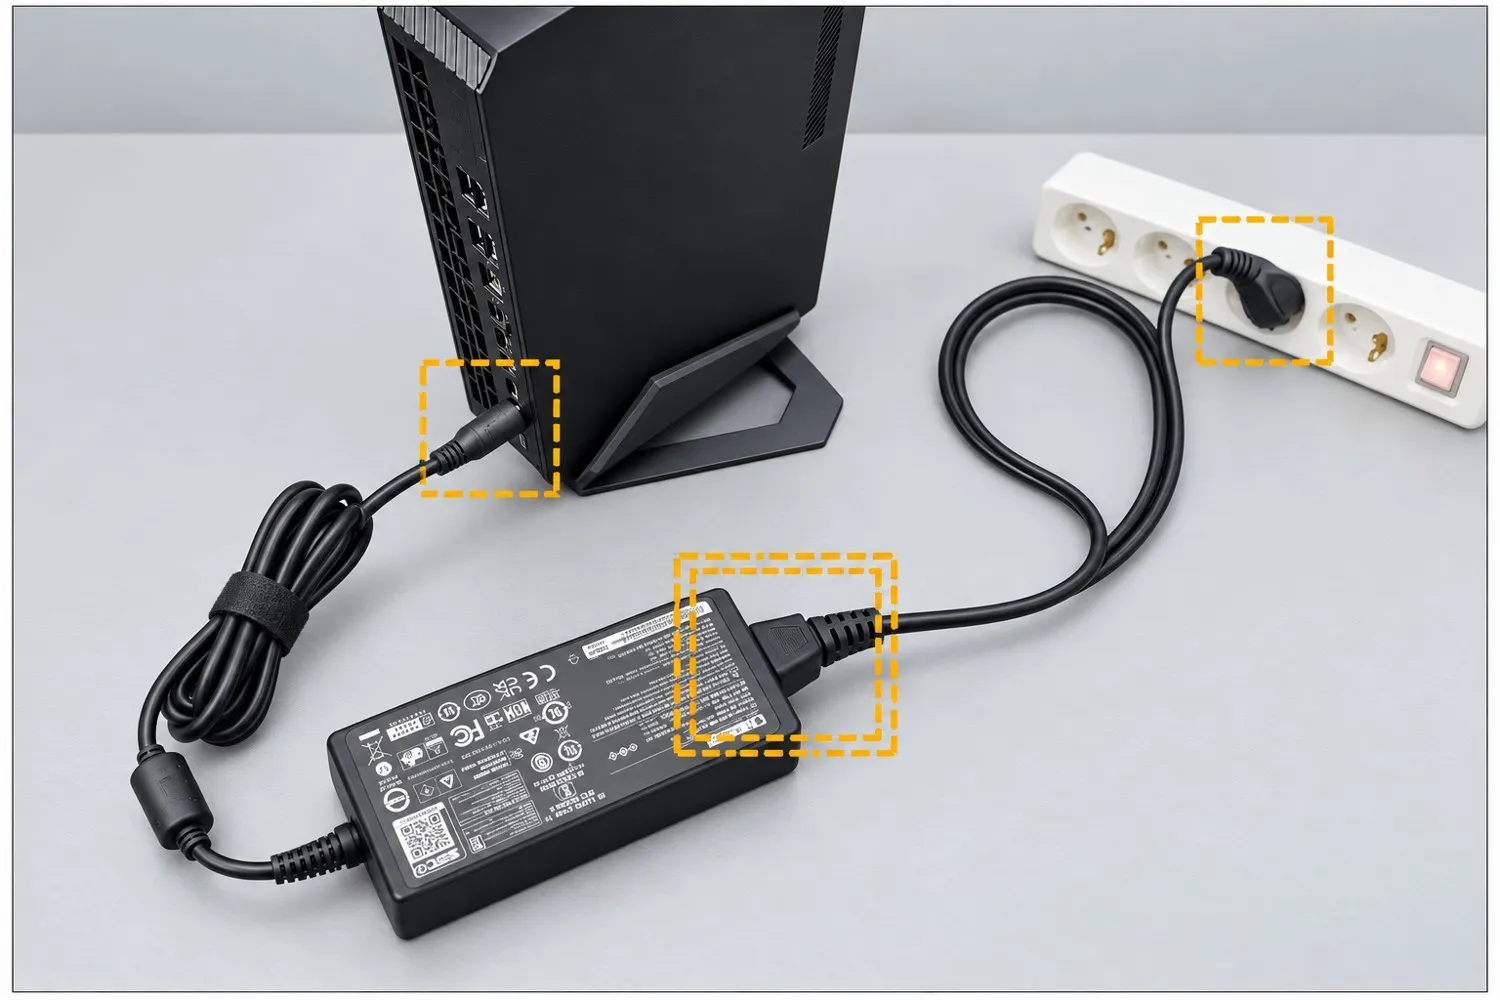
Connect the analysis device’s power cable. Push the power adapter’s connector all the way in so it does not come loose.
Powering on and the On-Site Control Panel
When you turn on the power, the On-Site Control Panel appears automatically on the attached monitor once the device finishes booting. No separate login or operating-system interaction is required.
From here on, network connection and camera registration are all done from this On-Site Control Panel screen. The next step is Connect and configure the network.