

Line Config
What it does
- Draw a virtual line wherever you want inside the store, and the system automatically counts and analyzes the customers who cross it.
- Combined with gender and age estimation and zone-by-zone inflow comparison, you can capture customer behavior in detail.
1. Open the Line Config screen

Click the Settings button at the bottom-left of the screen to go to the Settings page.
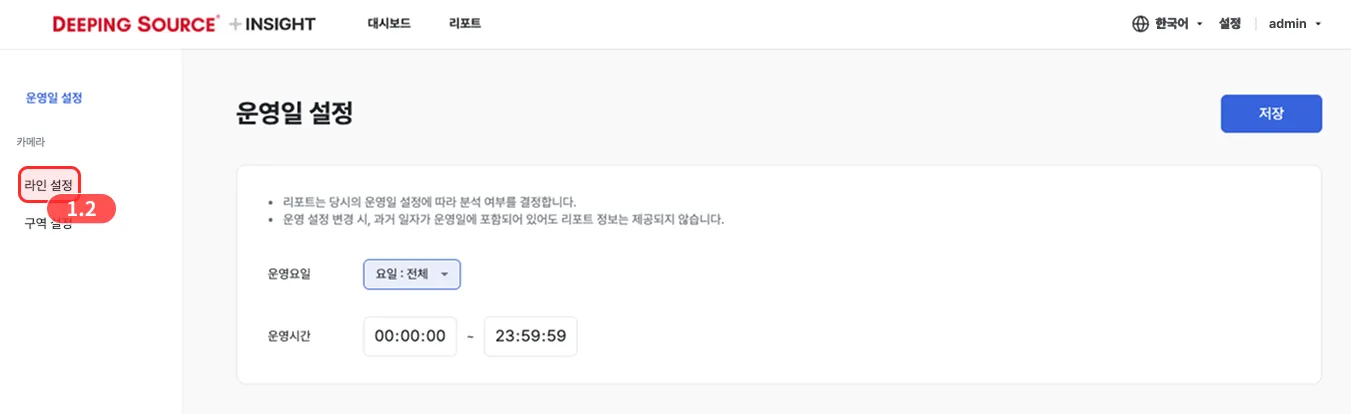
In the left-hand menu of the Settings page, click the Line Config button to open the Line Config screen.
2. Create a line
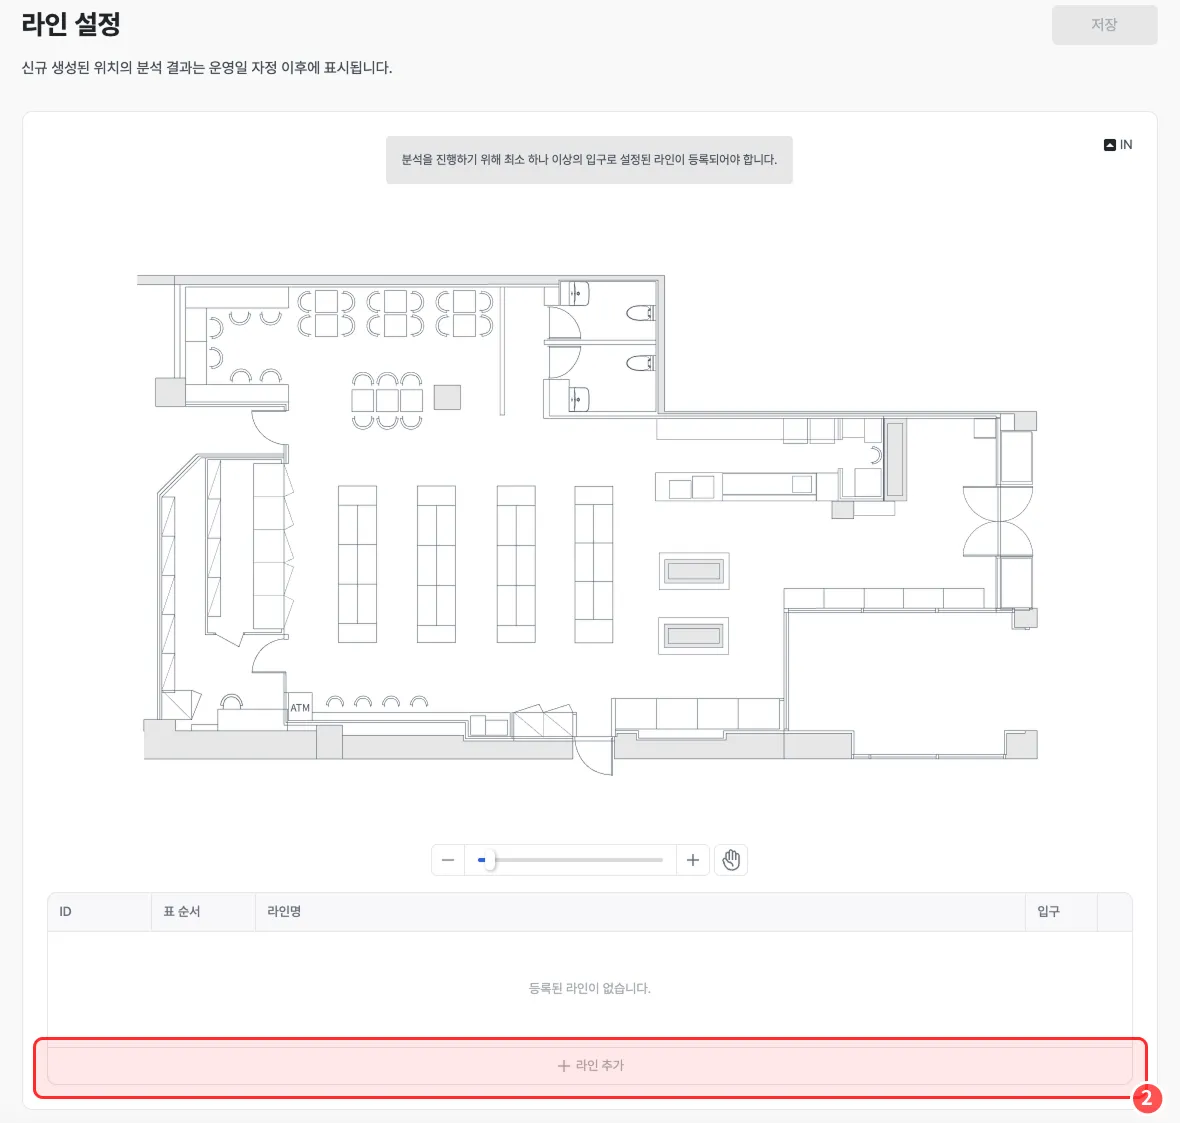
Click the [+ Add Line] button at the bottom of the Line Config screen to create a new line.
3. Draw the line
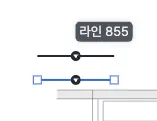
Drag the line to the location you want to analyze and adjust its length and angle to draw the line.
4. Confirm the line
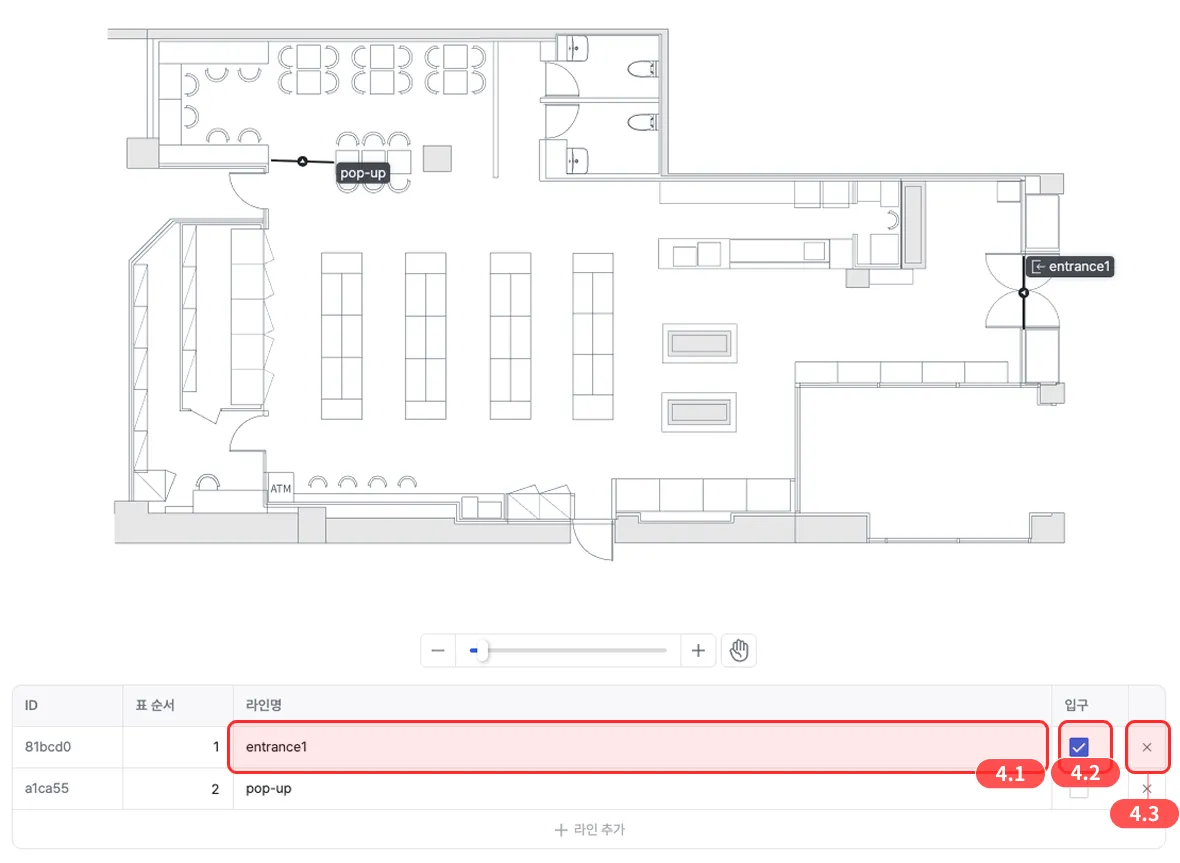
- Once the line position is final, enter a line name.
- To designate the line as an entrance, tick the checkbox.
- To delete a line you’ve drawn, click the X button.
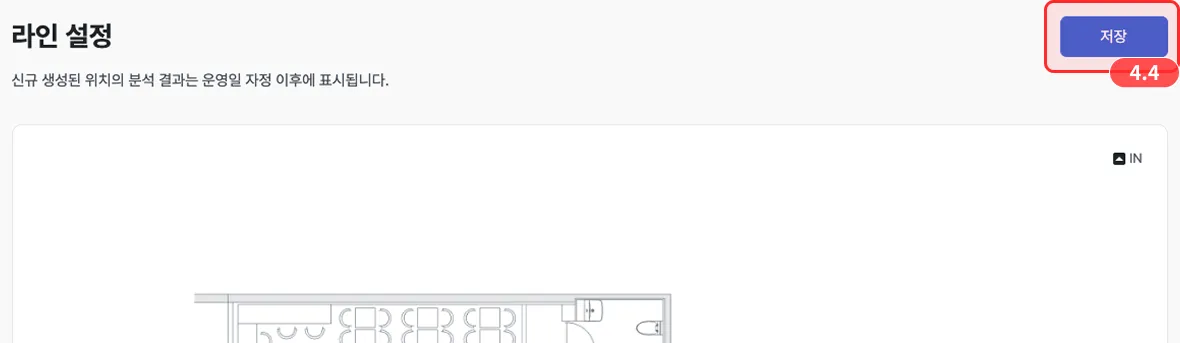
Click the Save button at the top right to confirm the lines.