

Set Up External Access
When the store is connected to the internet through a router that receives a public IP directly, set up port forwarding so the analysis device’s dashboard can be reached from outside the store.
Opening the router admin page
Check the gateway address of the internet connection in the On-Site Control Panel Network tab, and enter it in the address bar of the analysis device’s web browser. When the router’s admin page opens, log in with the admin account.
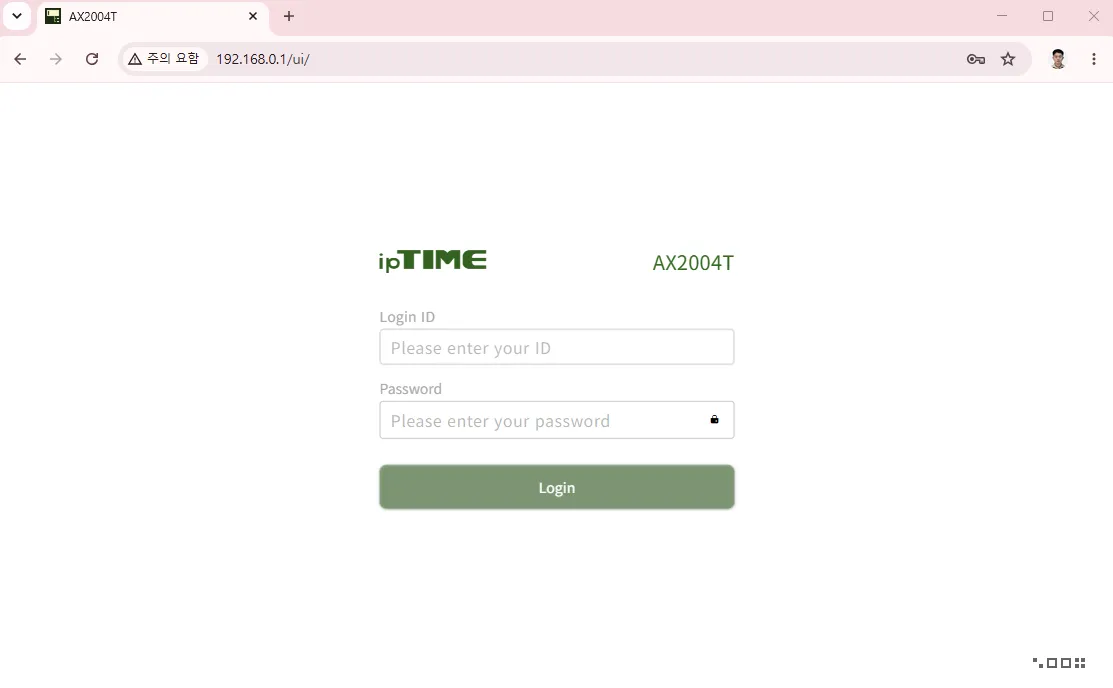
Adding a port-forwarding rule
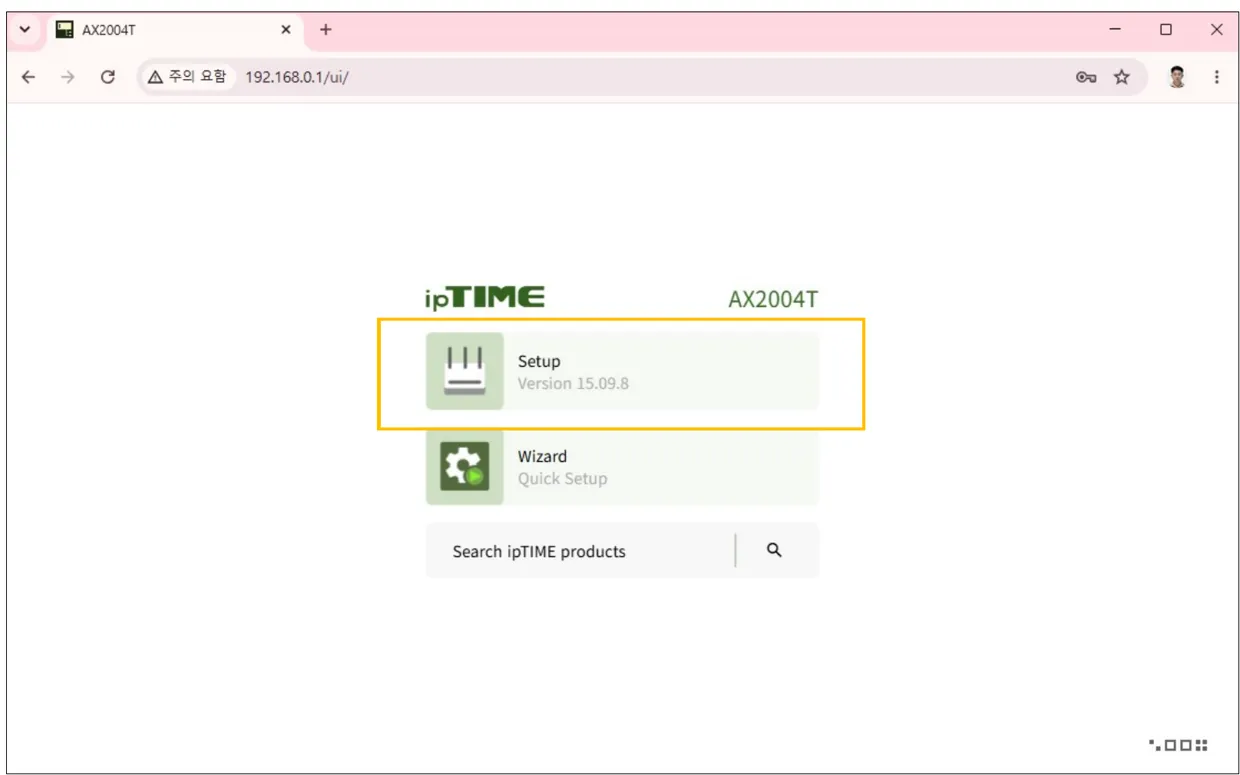
Go to the settings menu and find the port-forwarding settings.
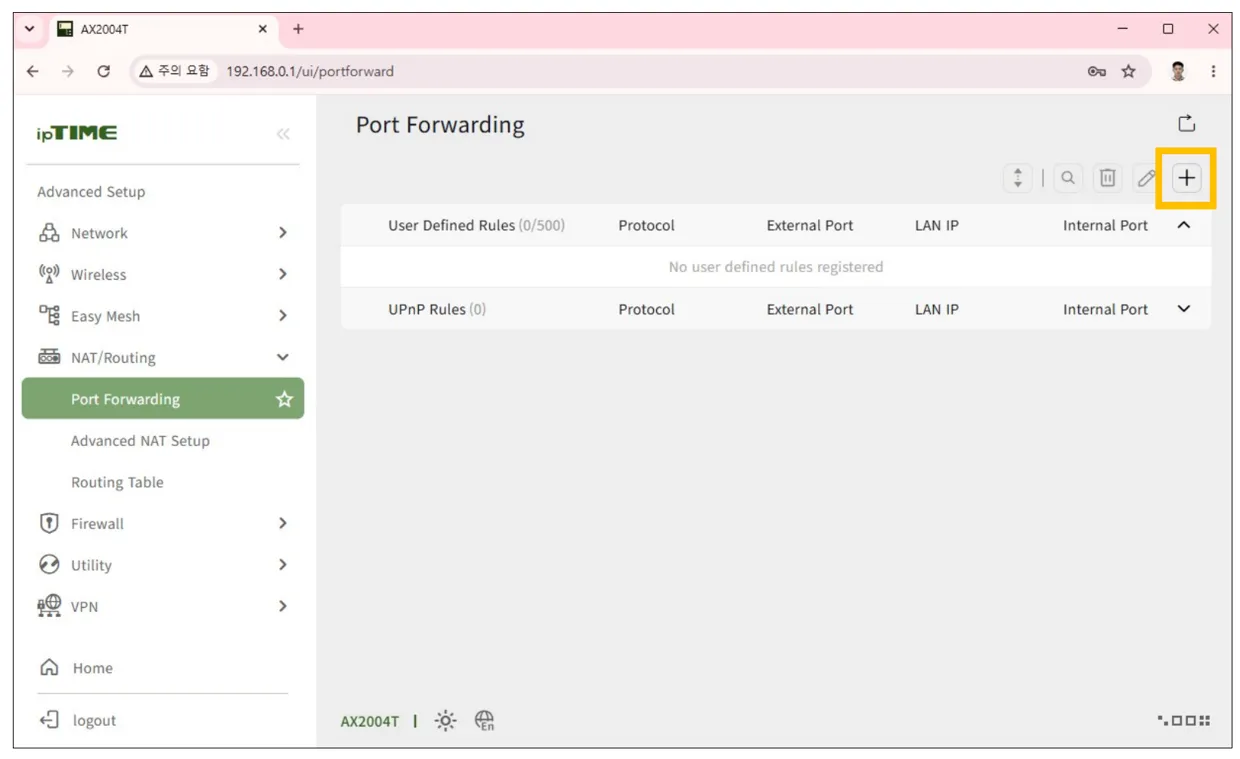
In the port-forwarding list, press the button to add a rule.
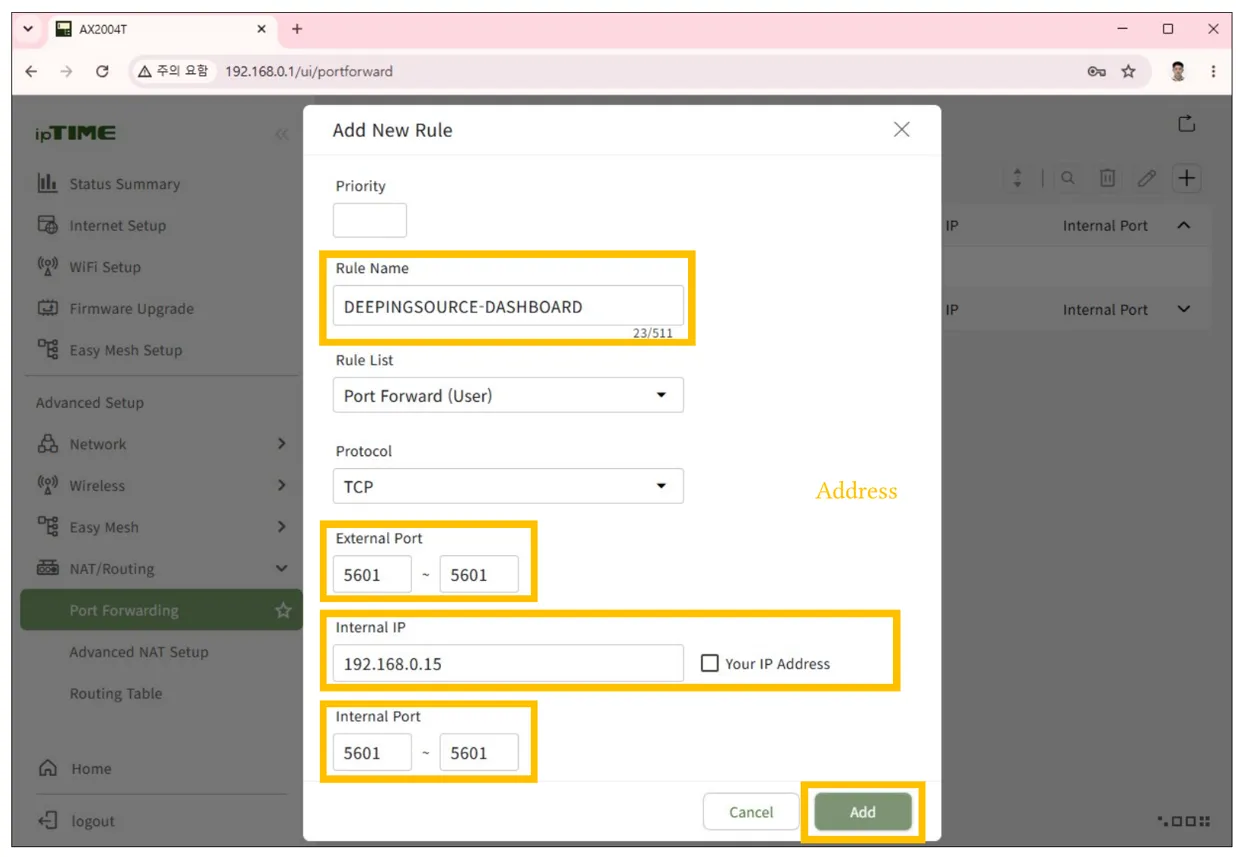
Enter and save a rule so the analysis device’s dashboard can be reached from outside. For the internal IP, use the analysis device’s internet-network IP; for the external and internal ports, use the dashboard port.
Switching to a fixed IP
Port forwarding works against the analysis device’s internal IP. If the internet network is set to Automatic (DHCP), the assigned IP can change and no longer match the rule, so switch it to Manual in the On-Site Control Panel Network tab’s IP settings to fix the IP.
- Address — Use the same IP you entered in the port-forwarding rule.
- Gateway — Enter the router’s address (the gateway you used to open the admin page).
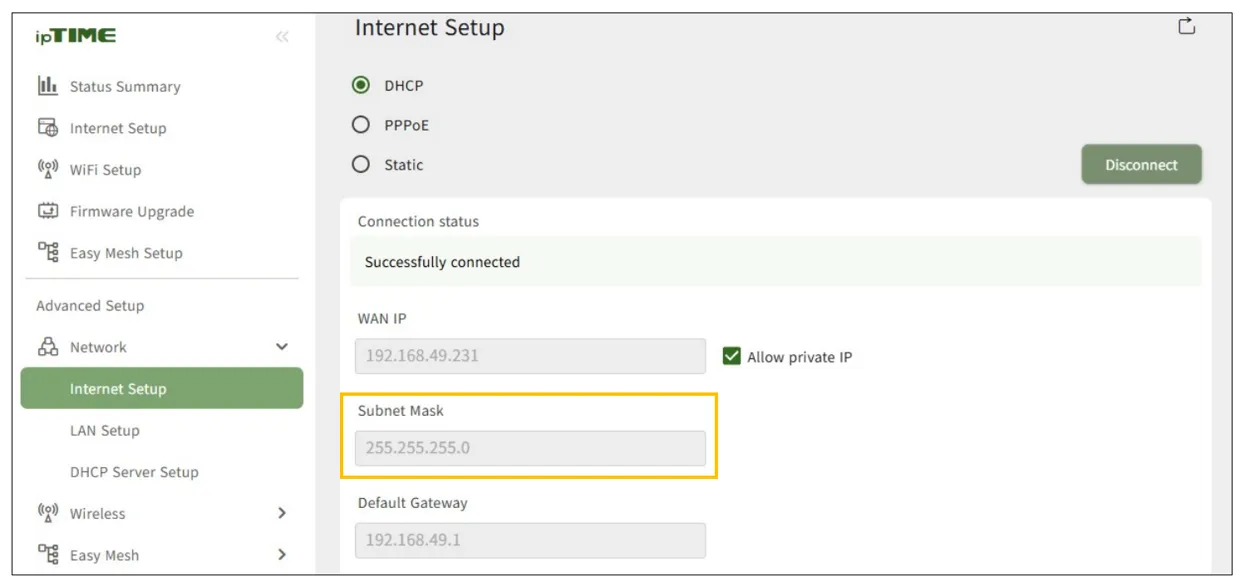
- Netmask — You can find this in the router’s network settings. Depending on the manufacturer it may be labeled “Subnet Mask.”
Verifying external access
Once configured, confirm that external access works.
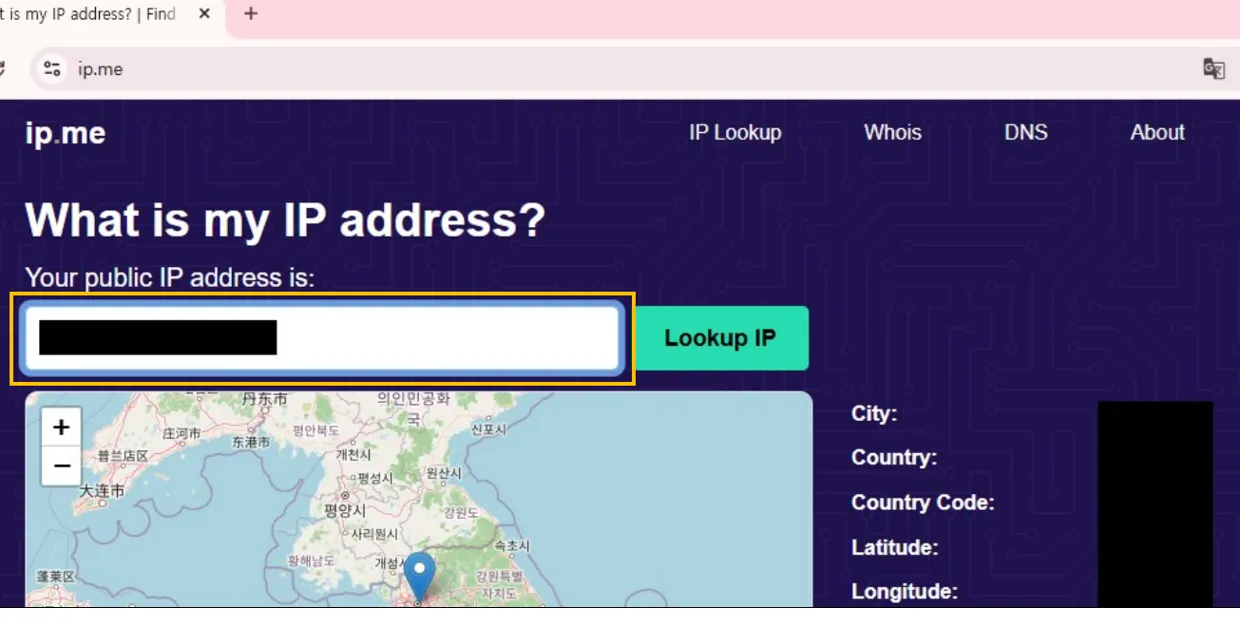
- Enter
ip.mein the analysis device’s web browser to check the device’s current public IP. - On a different device (for example, a phone), enter
public-IP:dashboard-portin the browser. - If it connects to the analysis device’s dashboard, the setup is complete.
Installation is now complete. For dashboard configuration, see the Dashboard Settings documentation.